
Aquí tienes una guía paso a paso para crear tu cuenta de vendedor en Stripe y comenzar a vender tus eventos y servicios en De Mami a Mami
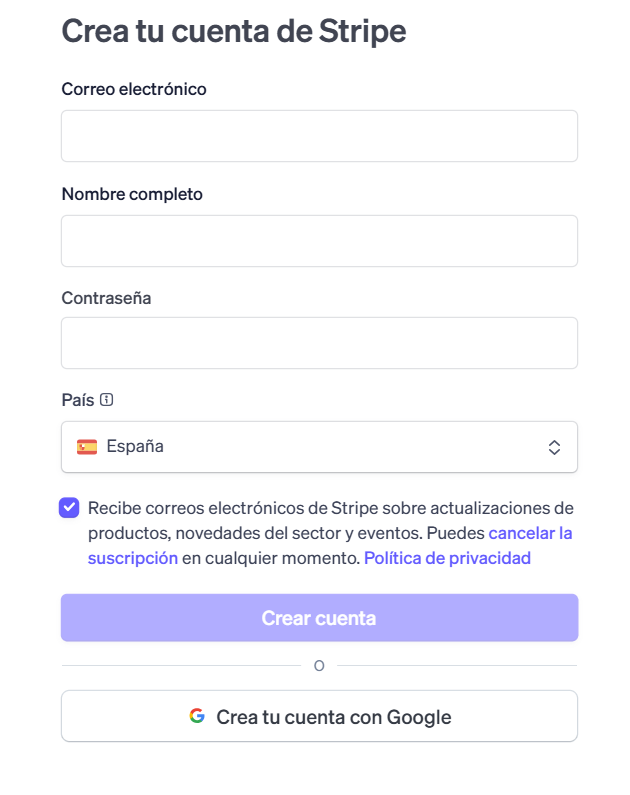
- Vsita la web de Stripe Website: Navega a stripe.com y haz clic en the “Crear Cuenta”.
- Verify Your Email and Phone: Follow the instructions to verify your email address and enter the security code sent to your mobile number.
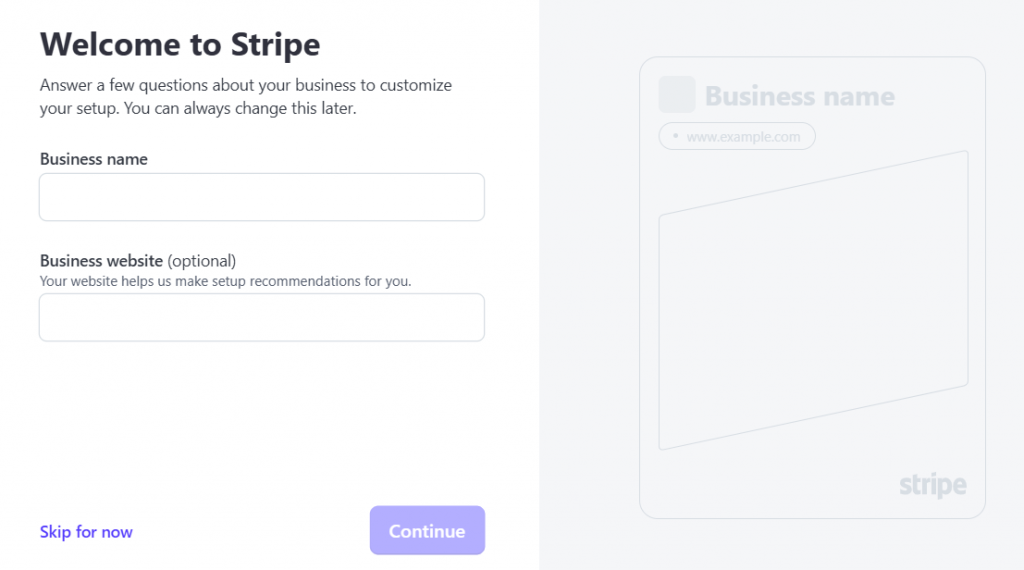
- Introduce los detalles de tu : nombre corporativo, y la URL de tu sitio web.
- your business email, mobile number, and personal details to begin the registration process.
- Verifica tu email, haz clic en el listado y recibe un enlace por email para verificar tu email.
- Verifica tu identidad corporativa completando tu perfil
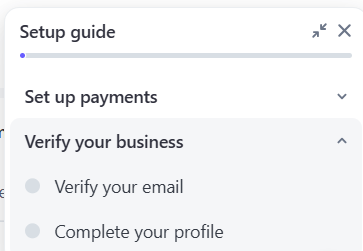
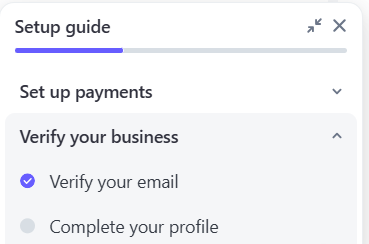
- Verifica tu identidad corporativa completando tu perfil
- Select Your Business Type: Choose the type of business you are registering for.

- Provide Banking and Business Information: Enter your company details, banking details (like your bank account), and your business type to validate your account.
- Get Your Live Client ID: Once you have a standard Stripe account, log in to your Stripe Dashboard, go to Settings > Connect, and find your Live mode client ID.
- Provide the Client ID to the Marketplace Operator: Give this client ID to the marketplace operator or administrator of the platform you are working with. They will use this to connect your vendor Stripe account to their marketplace.